Principles of Design - Week 6

No Comments »

9.9.14 (Week 6)
Jasmine Yeoh (0321190)
Principles of Design
Assignment 1B: Self- Portrait (art movement)


Pop Art

  • The Pop art movement began in 1950s (Britain and United States)
  • Comic books, advertising, cultural objects/ icons
  • Pop art uses celebrities and icons who are popular in the modern world
  • Commercial items: soup cans, soft drinks and comic books


Andy Warhol

Andy Warhol is a well known artist who had claimed to have found the art movement "Pop Art". He became famous by his iconic works where he took photographs of celebrities, icons and objects and transformed them into pieces of art which was and still is popular to this day. The way he produced these works of art was by projecting the photographs on a silt screen and and adding bright colours and producing repetitive patterns of the same photograph.


The Process
First, I experimented by applying different filters to a picture of me to mimic Andy Warhol's style:

As a result i really liked the way the many different shadows of the picture got separated into the overall main tones to create the picture. 

I went further to experiment on Photoshop. I took a picture of me and increased the contrasts to make the tones stand out more, then I posterised it:

 Then I changed it from black and white to coloured because colour is a very important aspect of pop art:

 Then using the picture as a guide, I sketched the final piece on art block and painted it using acrylic paint:


FINAL PIECE:

Video Presentation:


Introduction to Photography - Week 4

No Comments »

29.8.14 (Week 4)
Jasmine Yeoh, (0321190)
Introduction to Photography
Exercise 2b and 2c: Shutter Speed and ISO


Lecture:
First of all, as usual, Mr Vinod gave everyone verbal feedback regarding our previous assignment and our blog post. We then did a quiz on shutter speed and ISO which we had to study for using the study material posted on the facebook page by Mr Vinod. We discussed the test answers when we were done and Mr Vinod elaborated the questions and answers further. He gave us an exercise, telling us to prove that ISO affects exposure and quality of the picture and demonstrated how to conduct the experiment. After the 45 minutes we were given to complete the task, we had another quiz on shutter speed. We had homework to show how the different shutter speeds affects how the movement of the object would look like in the picture.

Instructions:

2b) Shutter Speed Exercise Instructions (Homework)
Shutter exercise1: Keep the fan speed at 1 and capture images using shutter settings from 1/1000th of a second till 1’ of a second. Repeat this exercise after changing the fan speed from 1 to 2 and the from 2 to 3 and so on.
All pictures must be black and white. Upload the screenshot of the document only and not the individual pictures.


2b) Shutter Speed (5%)
Marking Criteria: The student must capture the evidence of the Shutter’s ability to freeze fast moving objects and blur moving objects.


2c) ISO Exercise Instruction (In-class)
Upon reading, viewing and discussing the material on ISO, we have come to agree that ISO effects exposure (Exercise 2c.1) and effects the quality of an image (Exercise 2c.2).
Your task today, requires you to prove that:

- 2c.1) ISO effects exposure- 2c.2) ISO effects the quality of an image by increasing the noise and grain of a picture.
All images must be in black and white; you can make the adjustment in the camera (if the feature is available) or make the adjustment later in photoshop (Image > Adjust > Black & White)


2c) ISO (5%)
Marking Criteria: The student must capture the evidence of degradation of image as the ISO increases in sensitivity. The student also must produce evidence that ISO can directly affect exposure.

Exercise:


2b) Shutter Speed Exercise
We were asked by Mr Vinod to do this exercise to see the different picture you get of an object moving at different speeds by using different shutter speeds.
Screenshot:


2c.1) ISO Exercise
Mr. Vinod told us to do an experiment where it shows that ISO affects exposure so me and my teammates decided to conduct this experiment by taking pictures of one thing, changing only the ISO and keeping the shutter speed and aperture the same.

1) ISO 100  //  f5.6  //  1/4

 2) ISO 200  //  f5.6  //  1/4

 3) ISO 400  //  f5.6  //  1/4
 4) ISO 800  //  f5.6  //  1/4
5) ISO 1600  //  f5.6  //  1/4

Screenshot:


2c.2) ISO Exercise
For this experiment we had to show that ISO affects the quality of the picture. For each ISO stop, i changed the shutter speed too to keep the picture well lit.

1) ISO 100  //  1/8  //  f3.5

2) ISO 200  //  1/15  //  f3.5

3) ISO 400  //  1/30  //  f3.5

4) ISO 800  //  1/60  //  f3.5

5) ISO 1600  //  1/125  //  f3.5

Screenshot:


Feedback:"Jasmine, your outline of what transpired in your lecture was well documented, good job. In exercise 2b of the hardcopy screen shot I noticed the date written as August 2014, please include the date as well. You may hand correct the previous p/outs if similar mistakes were made. With regards to exercise 2b, it seems accurate and you managed to follow the instructions given in class properly, good work. Although I do have a question with regard to the pictures towards the end, why did they become brighter (over exposed), why didn't you maintain the correct exposure as you did previously in all the other shots? With regard to exercise 2c, you did not complete the exercise, you did 2c.1: ISO effects exposure but not 2c.2: ISO effects quality of picture. For the second exercise you are suppose to maintain the correct exposure so that you can see the difference in quality (grain and noise)."

Reflections:

Experience
My favourite part of the lesson is always the practical work, going out of the classroom to do the assignments independently. I also really enjoyed it when Mr Vinod gave us the tutorial on how to do the experiment because I think thats how I best learn things.

Observation
I tend to leave things to last minute when it comes to doing work on campus because during the time limit when doing the experiment, my teammates and I took a long time deciding what and where to take the picture so only during the last 10 minutes we were actually taking the pictures. I should work more efficiently and try not to get so distracted when doing assignments.

Findings
I found out that I absorb written information more efficiently when they are in shorter passages. I found this out while we were doing the quiz at the beginning of class when I remembered that ASA and ISO are the same thing and it was a question in the quiz. I remembered it because it was one of the first points in the text.

In this class, I finally understood the different between grain and noise after we had that question in our second quiz and Mr Vinod explained to us the difference between the two. Noise is the discoloration that happens in a picture, usually visible in the darker shades whilst grain is the uniform specks across the picture usually visible at higher ISO speeds.


Introduction to Photography - Week 3

No Comments »

22.8.14 (Week 3)
Jasmine Yeoh, (0321190)
Introduction to Photography
Exercise 2a: Aperture

Lecture:

The first thing we did today was have a quiz on aperture which we self studied on using the study material Mr Vinod gave us. After the quiz, he gave us a lecture on aperture and explained and clarified our doubts on the topic. He then told us to do an exercise to prove that aperture affects exposure and depth of field.

Instructions


Exercise 2: ExposureThe second exercise is divided into 3 areas (2a. Aperture [2a.1 & 2a.2], 2b. Shutter Speed & 2c. ISO[2c.1 & 2c.2]), all of which directly control the quality of an exposure. This exercises will give the students’ an understanding of how the 3 aspects work in combination to create an exposure.
2a) Aperture (5%)
Marking Criteria: The student must capture the evidence of the Aperture’s influence in exposure using the various f-stops. The student must also capture the evidence of the Aperture’s influence on depth of field.

Exercise 2a.1
Testing if aperture affects exposure. In order to prove this me and my team mates planned to take a picture multiple times and each time, change the aperture at each main f stop while keeping the same shutter speed.
 f4 // 1/800 // ISO200

  f5.6 // 1/800 // ISO200

  f8 // 1/800 // ISO200

  f11 // 1/800 // ISO200

  f16 // 1/800 // ISO200

 f22 // 1/800 // ISO200


Exercise 2a.2
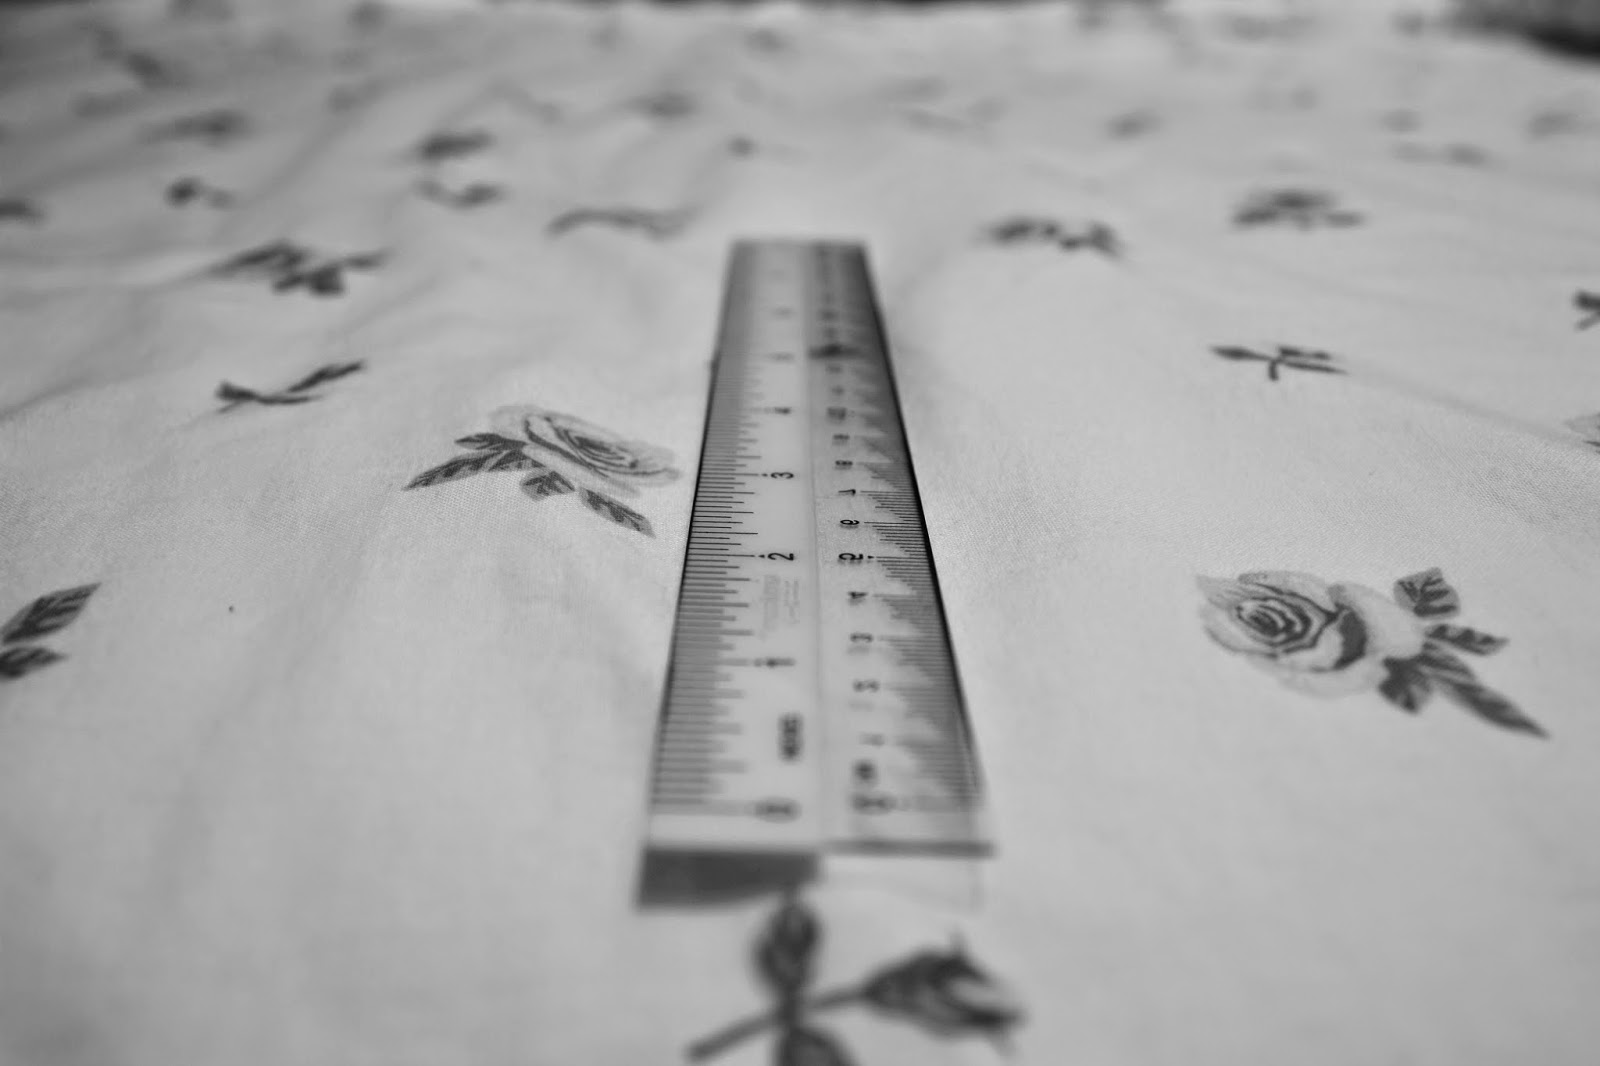
Testing if aperture affects depth of field. For this test I took a picture of a ruler several times, each time changing the aperture at each main f stop as well as adjusting the shutter speed. I used a ruler because it is easier to see where in the picture becomes less clear.

f4.0 // 1/13 // ISO200

 f5.6 // 1/6 // ISO200

 f8 // 0"3 // ISO200

f11 // 0"6 // ISO200

 f16 // 1"3 // ISO200

 f22 // 2"5 // ISO200

Screenshot:


Feedback
"With regard to the work you posted on your ePortfolio (under instruction) the title states just Exercise 2a, but which is it? Proving depth of field or exposure? You need to mention : Exercise 2a.1 or Exercise 2a.1: Exposure. The images with the ruler, I assume are to prove aperture controls depth of field, it would seem that you have proved that with your exercise, while the next set of images seem to indicate that aperture controls and effects exposure, again here it would seem that the exercise has proved it. Good work with regard to the exercise!!! --- With regard to the eportfolio you forgot to the Exercise type (Exercise 2a: Aperture). Armored importantly, the findings, of your reflection were a little "light" lacked proper reflection or insight, I know you can do better and I hope to see this in the next ePortfolio entry. In your observation you did not mention any observations you made with regard to the exercise, that was important. Alright, this should be sufficient feedback for you to mull over. Good work on the exercise, more work/concentration required in listening to instructions and in writing your reflections."

Reflection
Experience
Doing the test on the Sacrotes App was new and a fun way to mix things up. I really liked doing the practical work where we had to go and take pictures to prove that aperture affects exposure and depth of field. 

Observation
I noticed that Mr Vinod goes off topic easily but I don't mind it and rather, I find that the things he talks about when he goes off topic is interesting and entertaining. It is also quite informative and its good to have extra information since knowledge is important when you are in the design world because you need to know what you are talking about.

Findings
I didn't understand how to set the appropriate shutter speed before the class but Mr Vinod showed us the meter which you can see through the viewfinder when you press the shutter button half way.


Introduction to Photography - Week 2

No Comments »

15.8.14 (Week 2)
Jasmine Yeoh, (0321190)
Introduction to Photography

Lecture:
In this lecture Mr. Vinod reviewed our blogs and gave us feedback on them. After that, he talked about his education in India and where he worked, as a fashion photographer for many magazines such as ELLE, Cosmopolitan and Men's Review. 
He then went on to showing us picture by other photographers such as Herb Ritts and how he made his model get a tan to enhance the tones and shadows of their muscles and how he didn't bleach out the white background like other photographers. He then showed us the pictures he took while he was working as a fashion photographer, portrait pictures as well as pictures of his family which he took with his phone.

Instructions:
Mr Vinod gave us links for us to read and self study about aperture. He also asked us to come up with 3 questions about aperture in preparation for next class.

Feedback:
"Jasmine, with regards to the eportfolio, you left your observation blank. Also, the feedback section is meant to document my feedback to you. When you want to give me feedback, it would best be included in the appropriate section under reflection. While I am happy with concise reflection, you must ensure that the reflection does justice to the time spent in class, for example, mentioning spy our view of the photographers I presented, which ones did you like etc."

Reflection:
Experience: 
The class was really entertaining and interesting because we got to see the work Mr. Vinod has done and a bit about his background before he became a teacher.

Observation: 
It was difficult for me to remember the names of the different photographers so I should have wrote down notes while Mr Vinod was lecturing. I really liked the the photographers who took pictures which were black and white most such as Herb Ritts and Mark Seliger, rather than the more colourful pictures because I think black and white pictures are more emotional and richer in tone.

Findings:

I was sick during class so it was difficult for me to concentrate on what Mr Vinod was saying so i found that can't concentrate in class when I'm sick. I need to be more attentive while Mr Vinod is verbally giving me feedback.